Finger Coiling Curly Hair: Guide by Curl Pattern
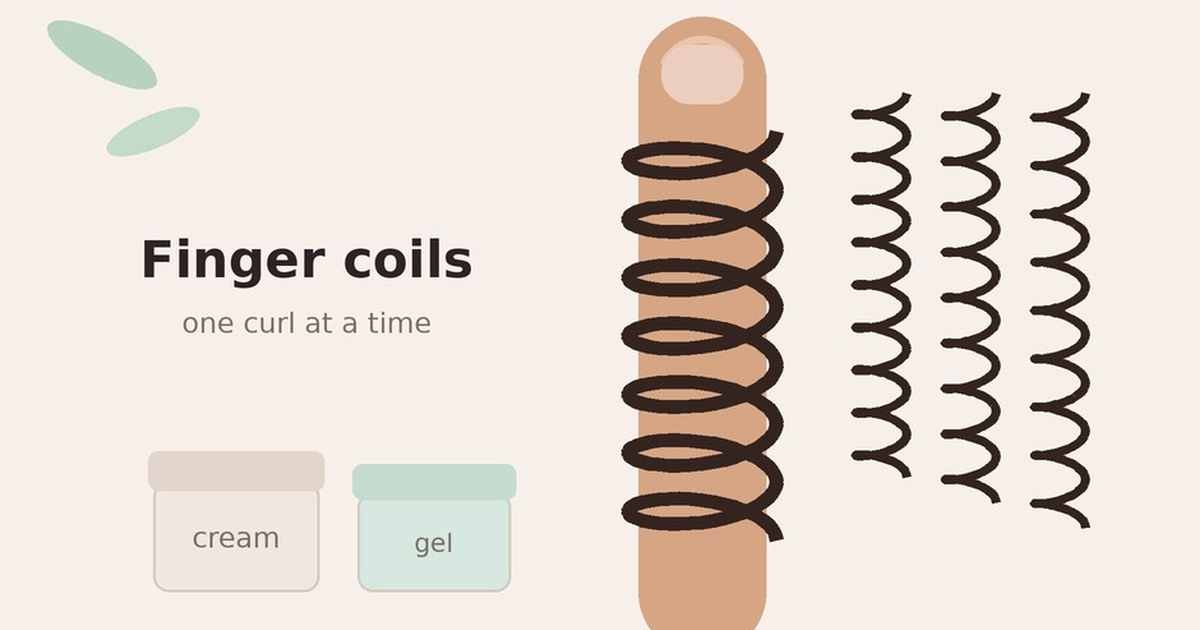
Finger coiling curly hair means wrapping small, wet, product-coated sections around one finger, root to tip, so each piece dries as a defined spiral. It gives the most definition of any wash-and-go-style method, but it is also the slowest, so the real question is how much of your head to coil based on your pattern.
Most guides treat finger coils as a 4C-only, full-head style. In practice:
- 3C–4C hair often gets the best results from full-head coils.
- 3A–3B hair usually needs only the crown or the frizziest sections.
- 2A–2C waves often look better with a few spot-coiled pieces than a full set.
This guide covers who should coil the whole head, section size and products by pattern, a seven-step method, drying without frizz, and fixes when coils unravel or turn crunchy.
Quick answer
To finger coil: start on soaking-wet, detangled hair with leave-in. Work in sections. Add cream, then gel, to one small piece at a time. Wrap it around your index finger from root to tip, following the direction it already curls. Slide your finger out and leave it alone. Air-dry or diffuse on low, then scrunch out the gel cast once it is fully dry.
By pattern: coil the full head on 3C–4C. Coil the crown or frizzy pieces on 3A–3B. On 2A–2C, spot-coil only the stringy or straight pieces, then scrunch the rest. Tighter patterns need smaller sections and more water.
Not sure where you fall? Check the curl type chart, or scan once and build a wash day in Curltine routines or the Curltine app.
Start with a Curltine hair scan
Should you coil the whole head? (by pattern)
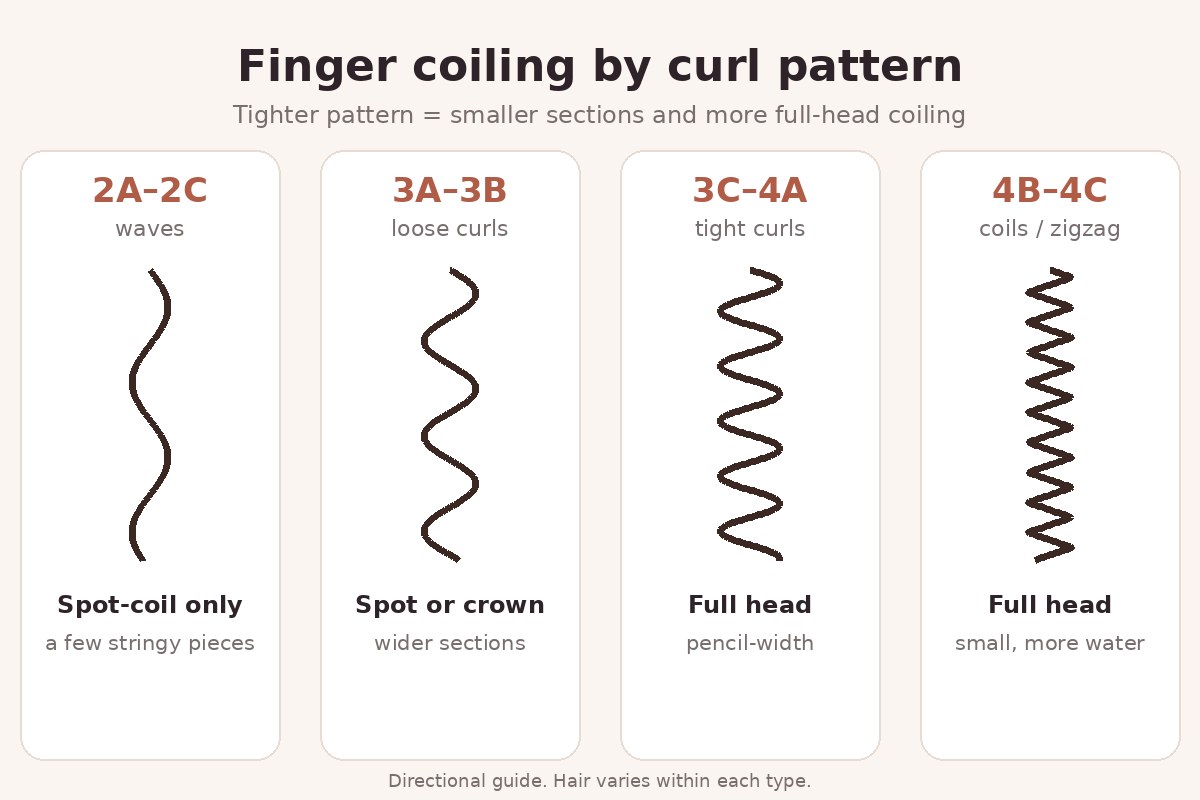
| Pattern | Full head or spot? | Section size | Product lean | Watch for |
|---|---|---|---|---|
| 2A–2C waves | Spot-coil only: face frame, stringy ends | Wider than a finger; a few pieces | Light gel or mousse; skip heavy cream | Coils can look "fake" or drag the root flat |
| 3A–3B curls | Crown, face frame, or frizzy patches | About marker-width | Light cream + medium gel | Over-coiling can make ringlets look too uniform |
| 3C–4A | Full head works well | About pencil-width | Cream + firm gel | Coils loosening by day 2 if gel is too soft |
| 4B–4C | Full head; plan the time | Small; mist as you go | Richer leave-in + firm gel | Sections drying before you coil them, plus shrinkage |
Two things move these rows more than the type label:
- Density. Dense hair has more sections, which means more time. It also dries slower, so a diffuser helps. See density vs thickness.
- Porosity. Low-porosity hair can look coated if you layer too much product. High-porosity hair dries fast and frizzes if sections lose water mid-coil. See porosity.
What you need
- A spray bottle of water (the most important tool for 4x hair)
- Leave-in conditioner
- A curl cream or styling milk (optional on fine waves)
- A gel with real hold (see gel layering)
- Clips, plus a rattail comb or your fingers for parting
- A diffuser, or time to air-dry
You do not need a special brand. Hold and slip matter more than the label.
How to finger coil: step by step
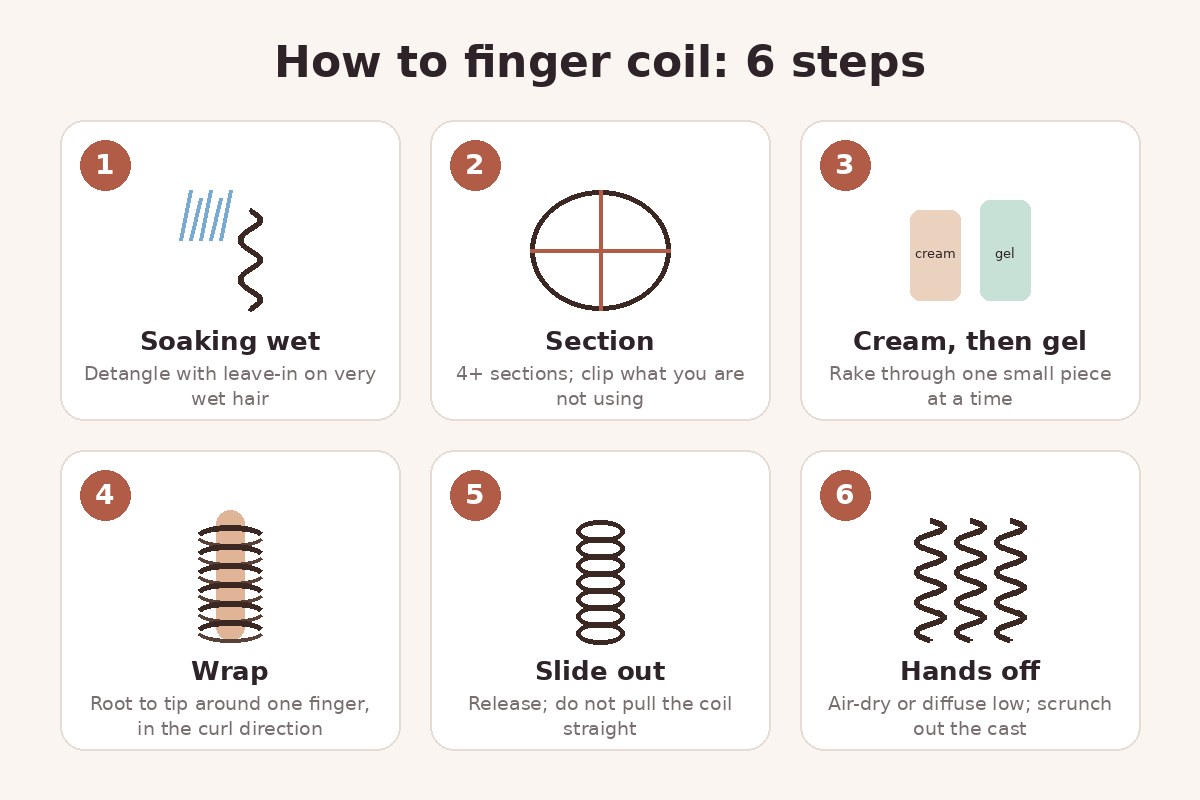
Do this after cleansing and conditioning. For the full wash-day order, see the wash day routine.
- Start soaking wet and detangled. Put in leave-in and detangle gently while hair still has slip (detangling without breakage). Knots left in a section turn into frizz in the finished coil.
- Section. Use four or more sections, and clip away what you are not working on. Work back to front so the most visible pieces get the freshest product.
- Re-wet the section if it has started to dry. Water first, then product.
- Add cream, then gel to one small piece. Rake or smooth it from root to end so every strand is coated.
- Wrap around one finger. Start at the root and twirl toward the ends in the direction the piece already curls. Use gentle tension. Loose wraps give loose, frizzy coils, and tight yanking stresses the root.
- Slide your finger out. Let the coil drop. Do not pull it straight to "check" it. If it frizzed, re-wet and re-coil that piece now, not later.
- Leave it alone while it dries. Air-dry, or diffuse on low by hovering first and then cupping. Once it is 100% dry, scrunch out the gel cast. A drop of oil on your fingers can help separate coils.
Short on time? Coil only the face frame and crown, then shingle or scrunch the rest. That still gets you most of the visible definition.
Drying, day 2, and nights
- Do not touch it while wet. This one rule prevents most frizz. More on airflow: diffusing vs air-drying.
- Diffuse on low if your hair is dense or air-drying takes more than half a day.
- At night, use a satin bonnet, a satin pillowcase, or a loose pineapple on longer hair (how to sleep with curly hair).
- Refresh by misting water or a water + leave-in mix on fuzzy pieces and re-coiling just those pieces (refresh between wash days).
How long the coils last depends on your pattern, product, humidity, and how you sleep. Tighter patterns usually hold the shape longer than waves. Judge by your own hair, not by a set number of days.
Finger coils vs other definition methods
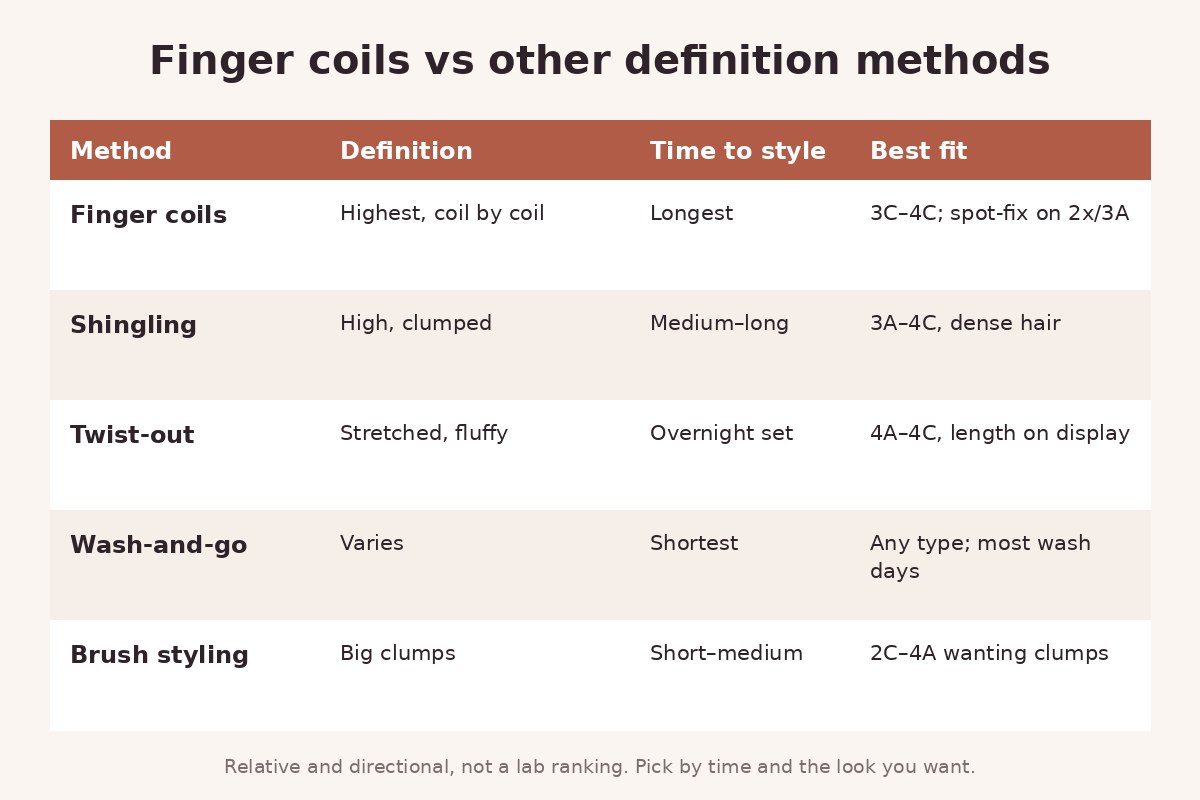
| Method | Definition | Time to style | Best fit |
|---|---|---|---|
| Finger coils | Highest, coil by coil | Longest | 3C–4C; spot-fix on 2x/3A |
| Shingling | High, in clumps | Medium–long | 3A–4C, dense hair |
| Twist-out | Stretched and fluffy | Set, dry, then unravel | 4A–4C, showing length |
| Wash-and-go | Varies | Shortest | Any type; most wash days |
| Brush styling | Big clumps | Short–medium | 2C–4A wanting clumps |
These are relative, not measured. Pick based on your time and the look you want. Many people coil only on days when definition matters and do a wash-and-go the rest of the time.
Troubleshooting
| Problem | Likely cause | Fix next wash |
|---|---|---|
| Frizzy coils | Section dried before coiling; touched while wet | Mist each section; hands off until dry |
| Coils unravel by day 2 | Gel too soft or too little; sections too big | Firmer gel; smaller sections |
| Crunchy, never softens | Cast not scrunched out; too much gel | Scrunch once fully dry; use less gel on the ends |
| Flat roots | Product heavy at the scalp; coiling started below the root | Start the wrap at the root; go lighter at the scalp |
| Coated or greasy (often low porosity) | Too many layers | Leave-in + gel only; skip the cream |
| Fuzzy fast in humidity | Humectant-heavy products on humid days | See frizz fixes |
| Uneven: some coils, some waves | Mixed textures on one head | Coil the looser areas; leave tighter areas as wash-and-go |
Common mistakes
Coiling damp instead of wet. The piece will not clump, and frizz shows the moment it dries.
Giant sections to save time. You get loose spirals with frizz in the middle. If you are short on time, coil fewer areas instead.
Coiling against the natural direction. Each section already curls one way, so follow it.
Re-touching every coil. Coil it once and move on. Fix outliers once the head is done, while still wet.
Expecting full-head coils on fine 2A waves. Spot-coil the stringy pieces, then scrunch.
Frequently asked questions
Does finger coiling work on wavy hair?
Yes, as a spot fix. On 2A–2C, coil a few stringy or straight pieces (often the face frame and underneath layers), then scrunch the rest. Full-head coils on fine waves tend to look piecey and flatten the root.
Do I finger coil on wet or damp hair?
Wet. Soaking wet works best. Mist each section right before you coil it so the product spreads and the coil sets as it dries.
What product is best for finger coils?
Leave-in plus a gel with hold. Add a cream in between if your hair is dry or coily. Lighter products work for low porosity and fine hair, while richer leave-ins suit high porosity and 4x textures.
How long do finger coils last?
It varies with pattern, products, humidity, and how you sleep. Tighter patterns and firmer gels usually hold longer. Protect at night and re-coil only the fuzzy pieces to stretch them.
Do finger coils damage hair?
The technique itself is low-manipulation. The risks are rough detangling and yanking tension at the root. Detangle gently with slip and wrap snug, not tight.
Finger coils or twist-out?
Coils give defined spirals at your natural shrinkage. A twist-out gives a stretched, fuller look. Choose by the look you want, not by which method is "healthier."
Soft next step with Curltine
Finger coils take time, so match the products under them to your pattern, porosity, and density before you spend an hour on it. Scan and build a routine in Curltine or start in the Curltine app. Then coil the whole head, or just the pieces that need it.
Curltine
احصلي على روتين تجعيدك المخصص
امسحي شعرك بالذكاء الاصطناعي خلال 60 ثانية واحصلي على خطة يوم غسيل تناسب نوع شعرك ومساميته وكثافته.
ابدئي خطتك